Windcave (formerly Payment Express) is a certified Visa and MasterCard solution that facilitates electronic payments from multiple access points for your WooCommerce store.
Installation
- Download the .zip file for PxPay
- Go to: WordPress Admin > Plugins > Add New to upload the file you downloaded with Choose File.
- Activate the extension.
More information at: Installing and Managing Plugins.
Sign up with Payment Express
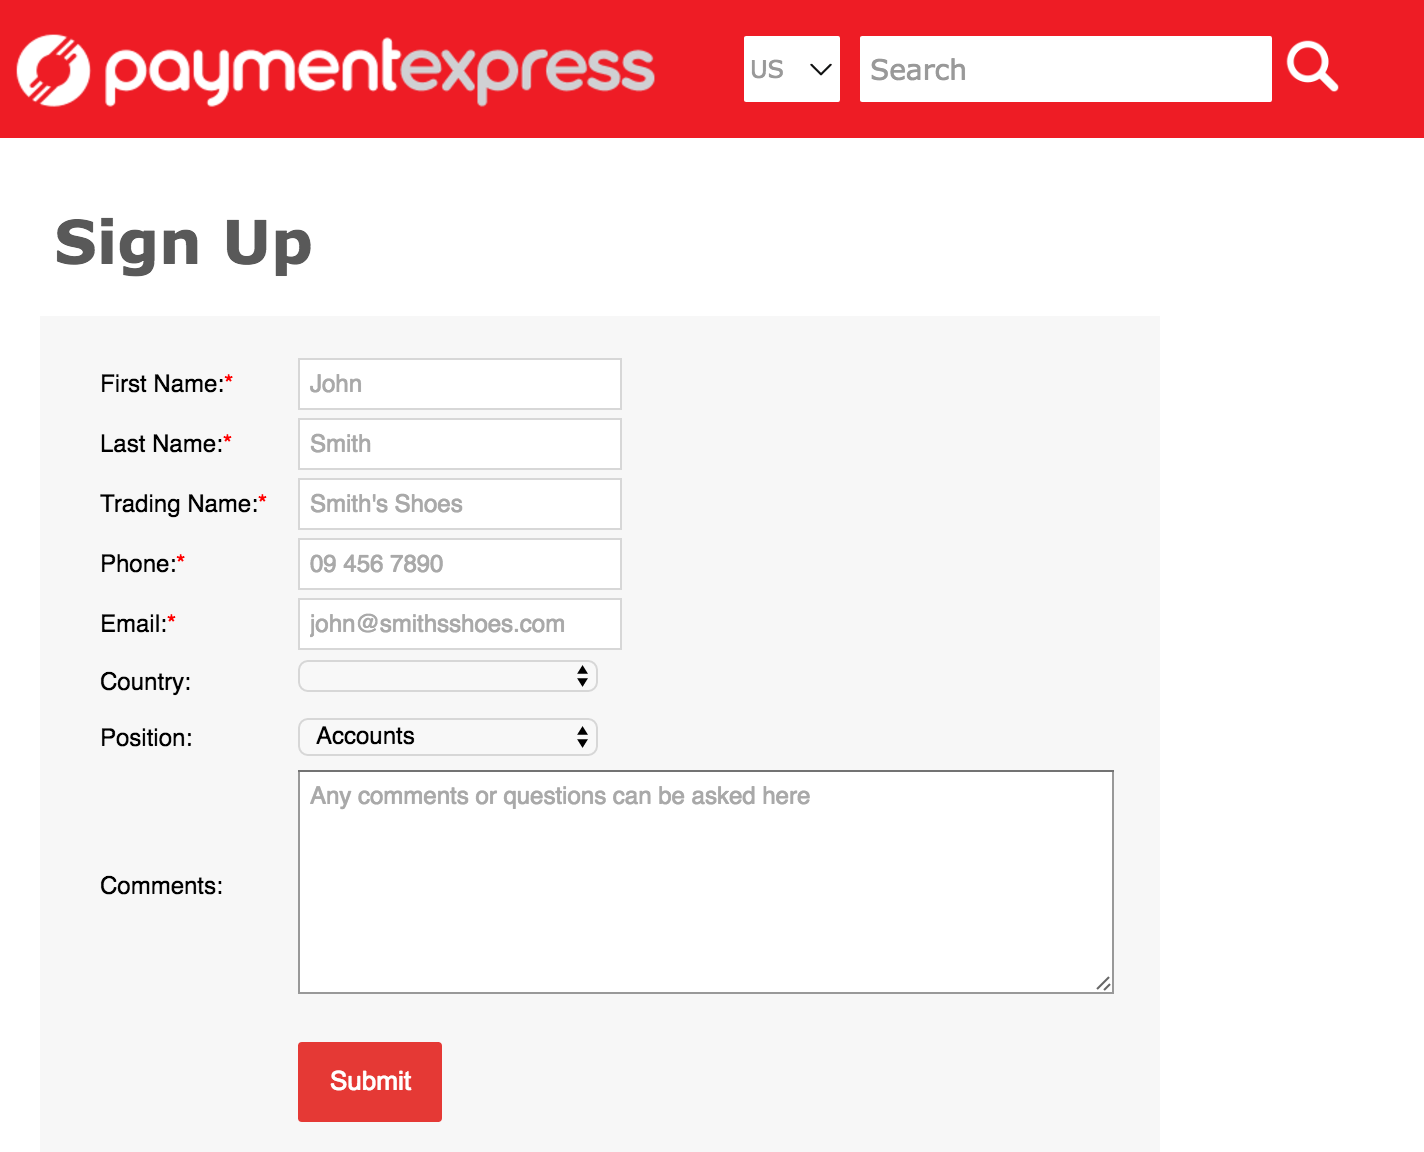
- Go to the Windcave (formerly Payment Express) website and sign up for an account.
- Wait for Sales to contact you with an answer on activation.
- Request PxPay credentials if the email you received doesn’t already contain them. Specifically you need:
- PxPay Access URL
- PxPay User ID
- Access Key
Setup and Configuration
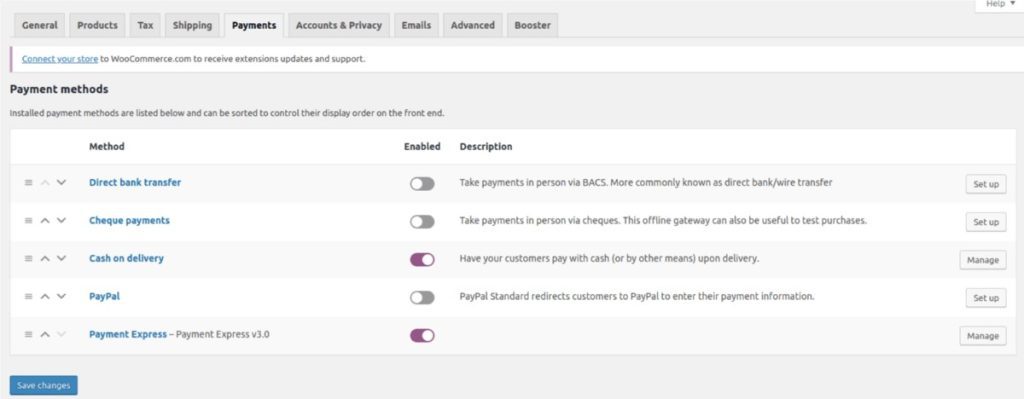
- Go to: WooCommerce > Settings > Payments > Payment Express
- Tick checkbox to Enable Payment Express.
- Enter Title shown to customers in checkout. Default is Payment Express; can be Credit Card or whatever you wish.
- Enter Description shown to explain Title.
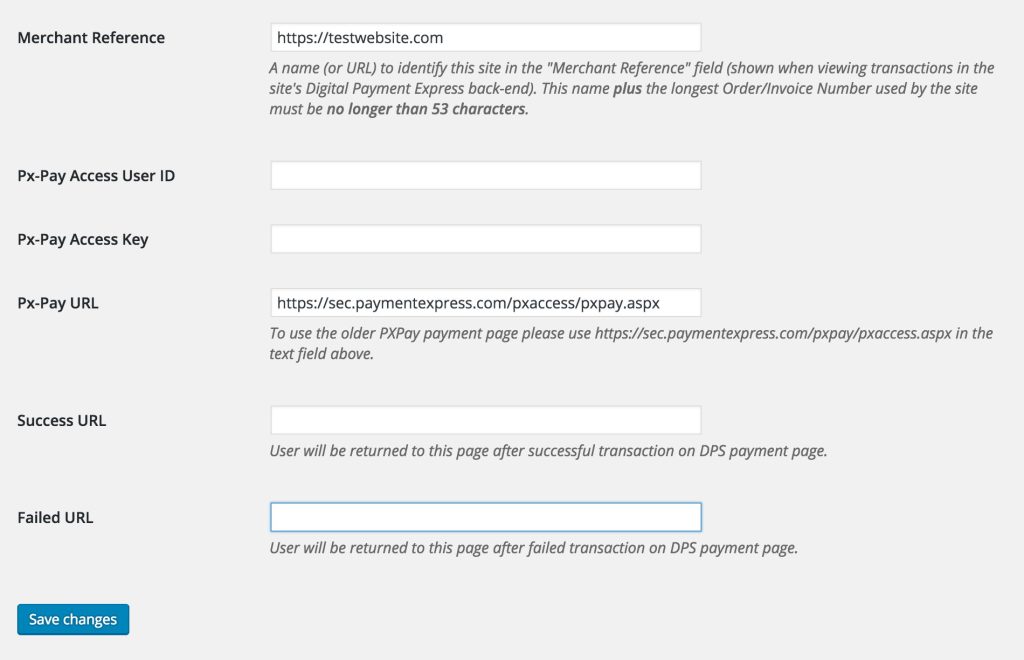
- Enter a name (e.g., your business) or a URL (e.g., your website/online store) for Merchant Reference.
- Enter Px Credentials obtained when you signed up with Payment Express.
- Px-Pay Access User ID
- Px-Pay Access Key
3. Save changes.
Test Mode
- Log into your Payment Express account.
- Request testing credentials.
- Enter info at WooCommerce > Checkout > Payment Express.
- Save changes.
- Use the Windcave Testing Details.
When finished, go back to WooCommerce > Checkout > Payment Express and re-input your live account info from step 6 in Setup and Configuration.
Questions & Support
Have a question before you buy? Please fill out this pre-sales form.
Already purchased and need some assistance? Get in touch with us via our Help Desk.