Additional information
| Billing option | 1 Year, 2 Years |
|---|
$99.00 / year
By using Help Scout with your WooCommerce store, you can expect to see the following:
Adding Help Scout to your website is now easier than ever, thanks to the plugin’s shortcode support. Add a Help Scout form to any part of your website using the shortcode [wc_help_scout_form]. These forms are easily customizable using CSS and other tools.
When viewing an order within WooCommerce, you may need to quickly contact the customer. Help Scout for WooCommerce adds an intuitive form to each order description within WooCommerce. This form allows you to contact the customer directly through Help Scout.
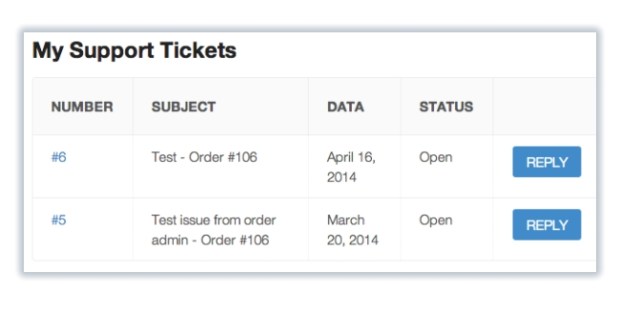
Let your customers keep track of their support tickets in one easy place. WooCommerce Help Scout adds a new field to the My Account page which lets customers view and reply to conversations.
Sometimes, a customer may have an issue or query and may not know how to contact your helpdesk. This may result in the customer commenting about their issue on a related (or unrelated) blog post. With WooCommerce Help Scout, you can easily reply to these comments and turn them into a ticket within Help Scout.

After setting up WooCommerce Help Scout, you can view all of your tickets, queries and customer feedback in one place. Help Scout’s great UI and effective tools allow you to easily manage, reply to and update conversations. The end result is a smooth customer service experience for the customer and the store owner.
Getting Started with Help Scout – How to create a Help Scout account:
Help Scout has a singular purpose of helping you to manage relevant conversations with your customers. WooCommerce Help Scout integrates seamlessly with this ethos of Help Scout’s, helping you and your customers to easily start relevant conversations with one another and to ensure your customers are as happy as possible with each order they place through your online store.
| Billing option | 1 Year, 2 Years |
|---|
At Woocommerce.opmc.com.au, we want to ensure that you are 100% happy with your purchase.
Our policy offers a full refund within 30 days of your date of purchase. We’d love to know what went wrong and how we can improve, so please include details about the reason for your refund request if you reach out to us directly.
Woocommerce.opmc.com.au and our payment process submit the refund immediately and make every attempt to process the refund as quickly as possible. Your financial institution can take up to 20 days for the refund to reflect in your bank account/card.
This extension helps your customers to easily start informative conversations and send them to your Help Scout, as well as for you to connect a customer in Help Scout with their information in your WooCommerce-powered store.
More information at: Install and Activate Plugins/Extensions.
To set up WooCommerce Help Scout:

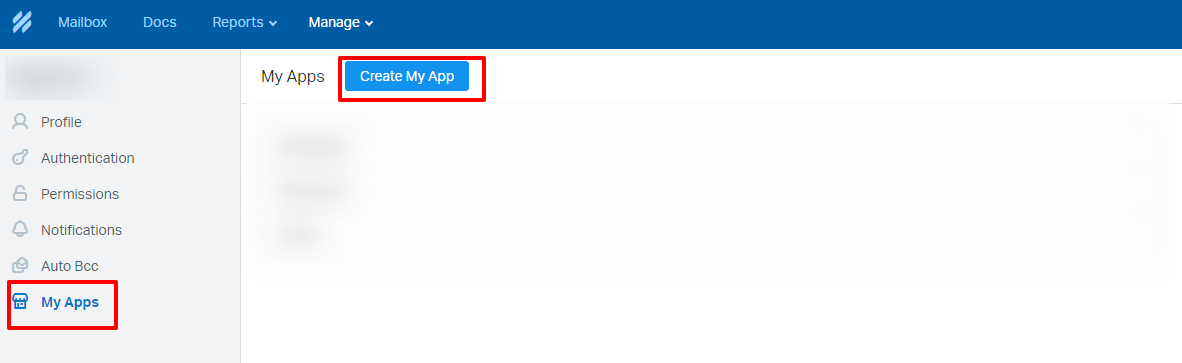
To generate your API key, you need to create an OAuth2 application:

To locate your Mailbox ID:
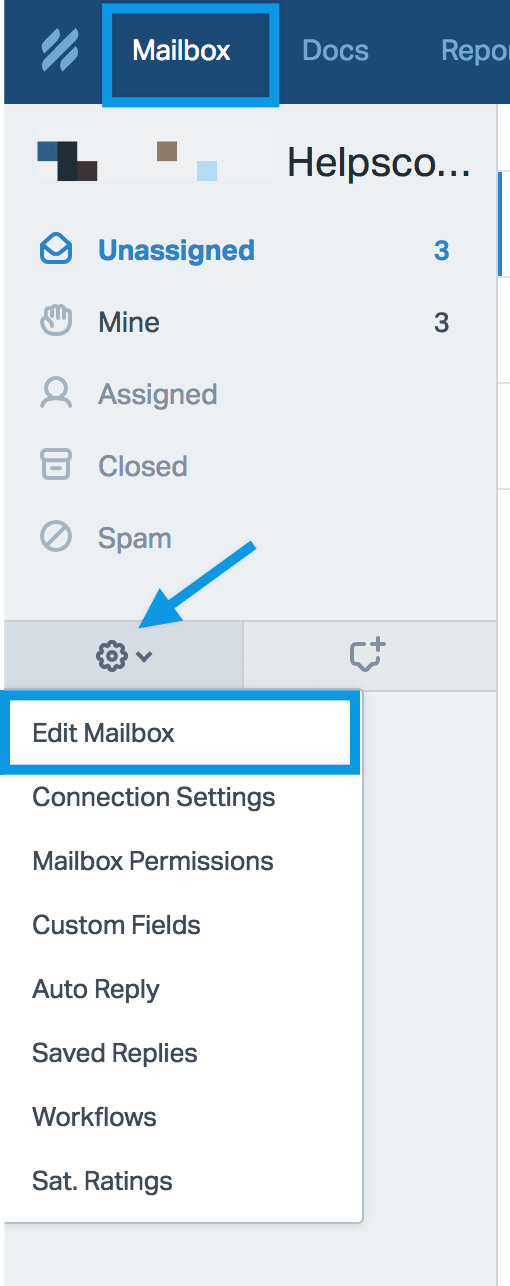

An example:
https://secure.helpscout.net/settings/mailbox/123456/
Where 123456 is the mailbox ID.
To locate your Profile ID:
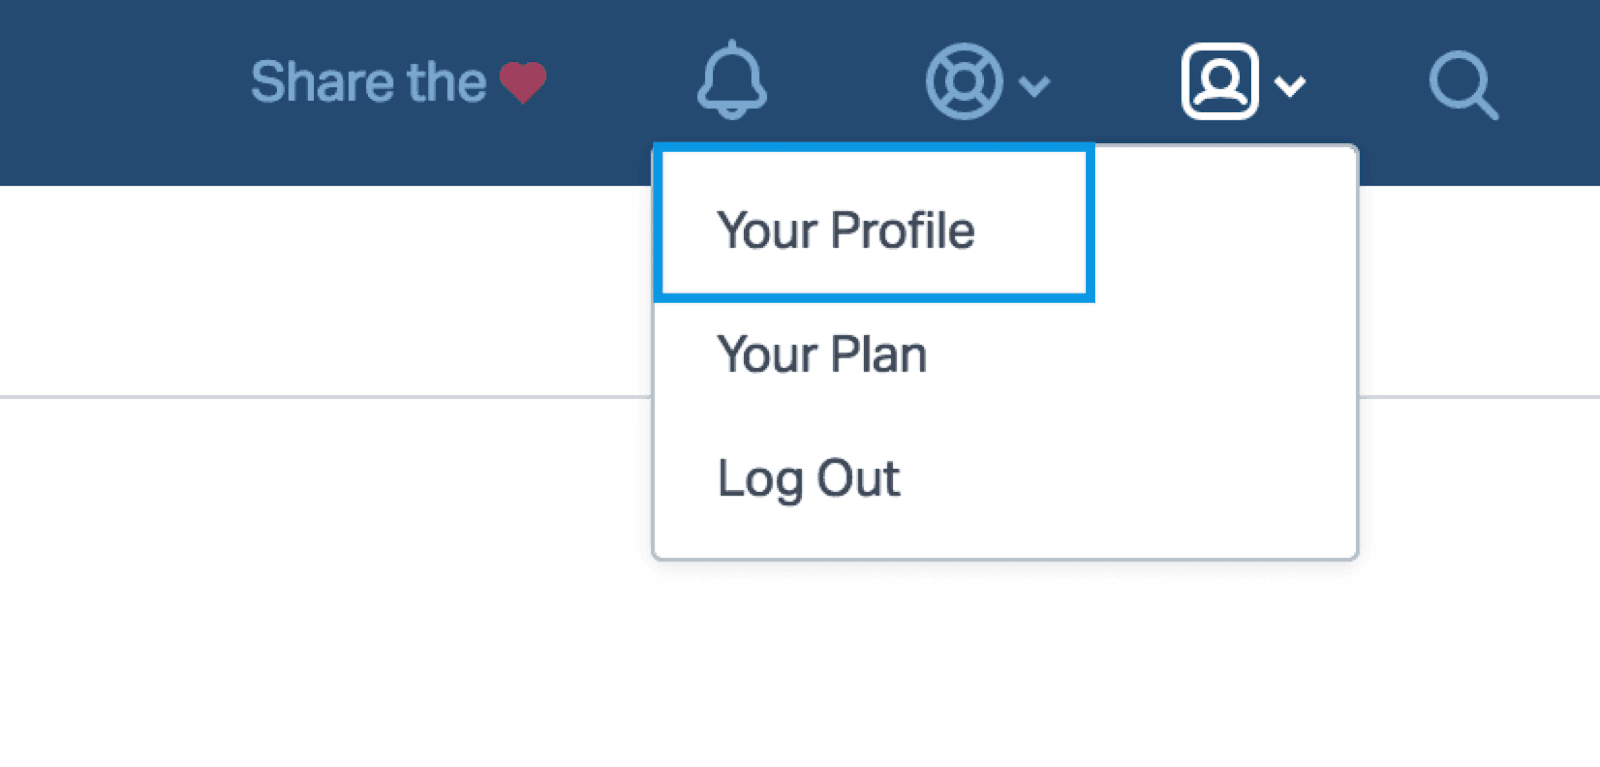

An example:
https://secure.helpscout.net/users/profile/123456/
Where 123456 is the profile ID.
This step is optional. If you do not add an ID, the conversation will be created as Unassigned.
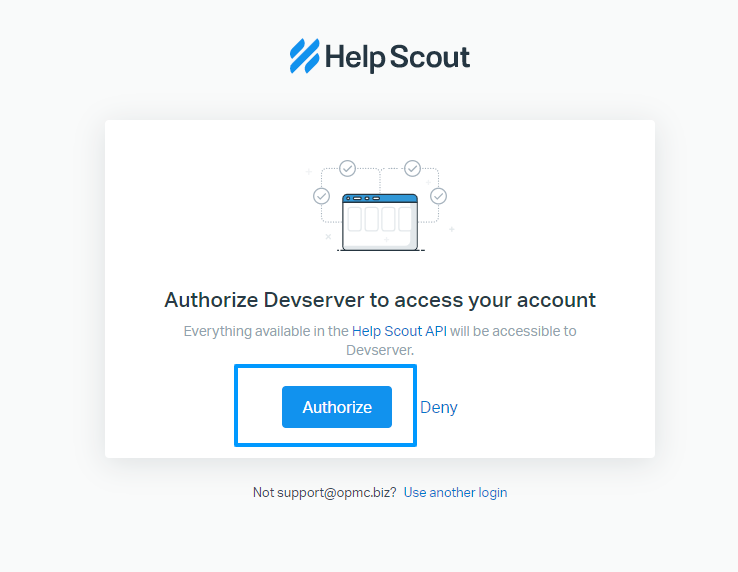
After filling out all of the required fields in the Help Scout settings page, a green “Allow Access” button will appear. Upon clicking this button, you can authenticate the connection and allow Help Scout to work with WooCommerce.
WooCommerce Help Scout makes it easier for you and your customer to converse about a particular order or blog post comment, by providing a one-click solution to start a new conversation within Help Scout. The various implementations of this are described below.
When viewing their orders, your customer may have a query or issue they would like to address, pertaining to the specific order.
A new Get Help button is displayed when viewing the My Account or My Orders screens within your WooCommerce store.

Help is available, at the click of a button.
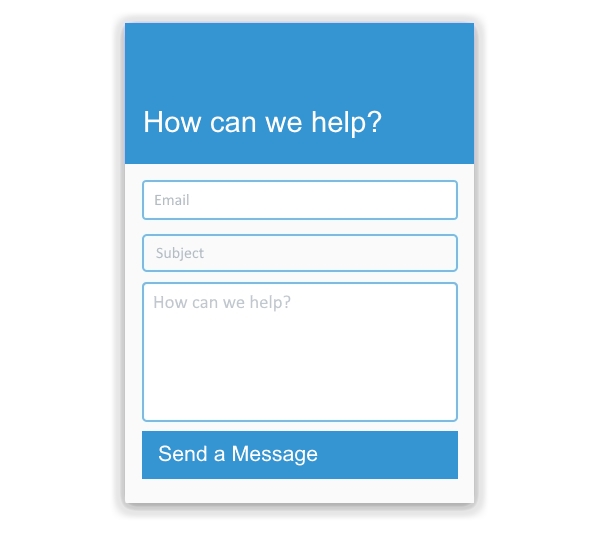
When this button is clicked, the customer is directed to the View Order screen for the order in question. This screen now contains a short form for receiving help via your helpdesk.
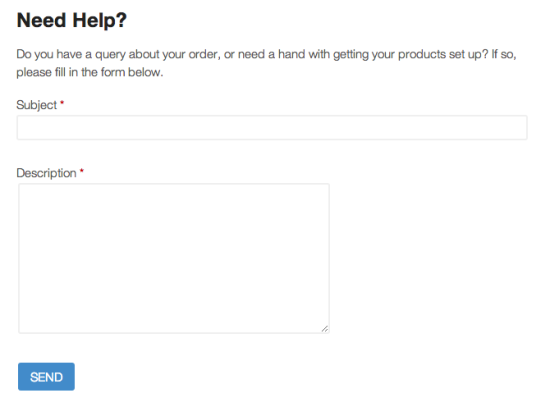
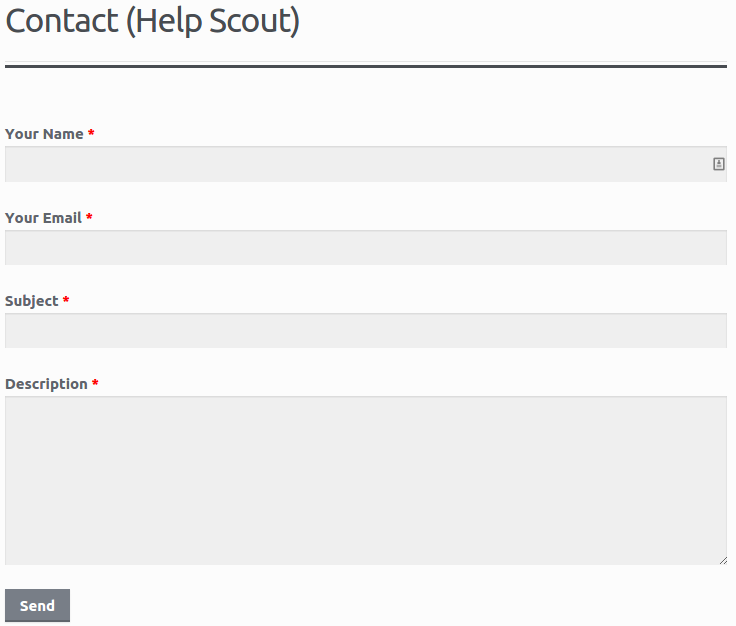
Easily create a new Help Scout conversation, by providing a subject line and description.
Provide a Subject and Description and click Send. You’ve now sent a conversation to Help Scout, to help get your query attended to.
In some instances, when viewing an order within WooCommerce, the store owner may wish to quickly reach out to the customer (perhaps based on an irregularity in their order, or a special order note/request). They may also wish to track this discussion within their helpdesk.
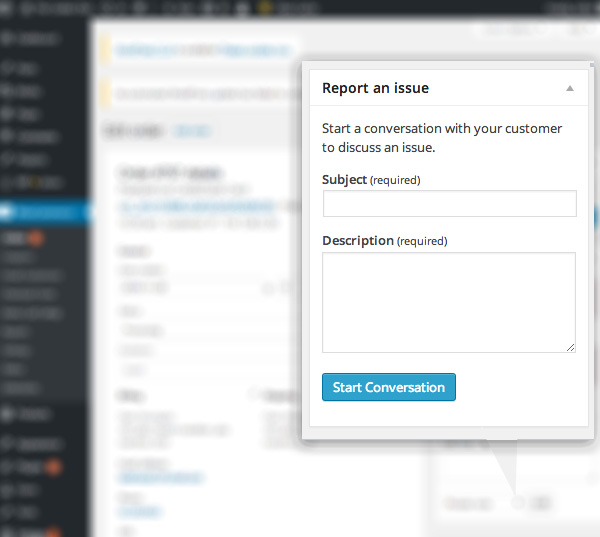
A new meta box is now made available for each order, titled Report an Issue.
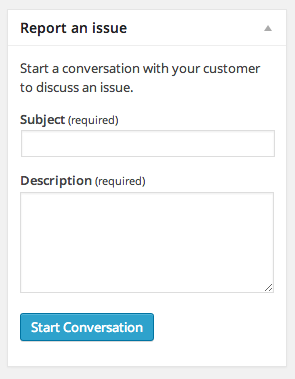
Quickly start a new conversation, relating to a specific order.
To use this form, fill in the Subject and Description and click the Start Conversation button. A new ticket will be created in Help Scout, without reloading the screen. You will be notified of the conversation URL once the conversation has been created.
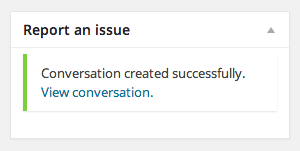
A link to the conversation is provided for you, once the conversation has been created.
Sometimes, a customer may have an issue or query and may not know how to contact your helpdesk. This may result in the customer commenting about their issue on a related (or unrelated) blog post.
Convert this discussion into a Help Scout conversation to help speed up the resolution time.
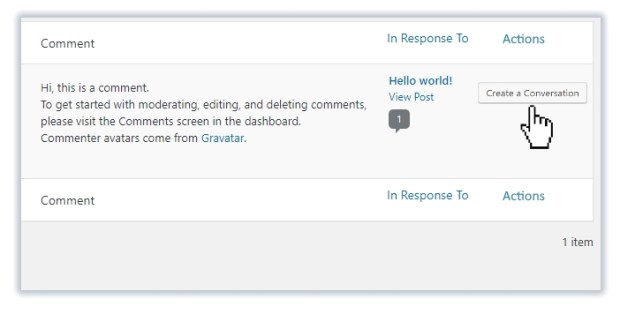
Visit the Comments section of your WordPress admin. Locate the comment and click the Create a Conversation button alongside it.
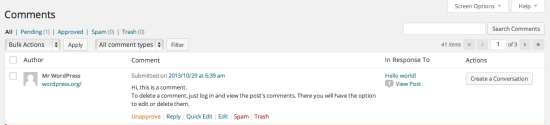
Easily convert a blog post comment into a conversation. Delivering happiness on all fronts.
Help Scout provides a sidebar block, directly when viewing a conversation within Help Scout, to display WooCommerce data for the customer taking part in the conversation.
Part of setting this up is to enable the WooCommerce REST API.
For information on how to enable the REST API within WooCommerce, please see our documentation.
Use the follow shortcode to create a conversation form for customers and guests:
[wc_help_scout_form]

Logged in customer
Guest users – non-logged in users